Installing a smart, setback, or programmable thermostat
Last updated on March 10th, 2024 at 03:31 pm
Cost: $60 – $200
Estimated Effort: 30 minutes
Approximate Savings: 10% – 15% or more
Installing a “smart” thermostat is not hard at all, and typically takes less than 30 minutes to accomplish, even for novice users.
When buying your new thermostat, just remember – you get what you pay for. If you want more features, like the ability to program based on day, you will pay more. Likewise if you want an Energy Star model. My advice to get one that’s within your budget with features you need right now, but go for an Energy Star model. Like I said, these can be expensive, but the investment now is well worth it down the road, considering the money it will save you in heating costs.
Remember to consult with the manufacturer’s instructions when installing your thermostat and use caution! This guide is intended to show you how easy it is to install a typical thermostat.
1.Turn off the power and remove the old thermostat
Either turn off the power at the circuit breaker or fuse box, or switch the power off at the furnace. This will prevent the furnace from turning on while you’re working. Carefully remove the thermostat from the wall, but don’t remove the wires yet. Remove as much of the thermostat as you can.
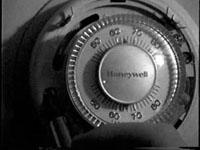
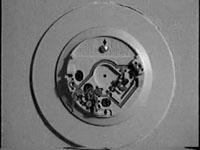
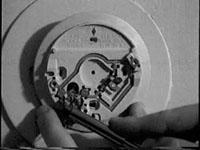
2. Mark the wires
You’ll want to note the wires and their connections into your current thermostat. For example, if you have a wire going to the “R” terminal, take a piece of tape, mark an “R” on it on remove the wire from the thermostat. Repeat this for the other wires.
IMPORTANT! Make sure you mark where the wires are going, not the color of the wire!
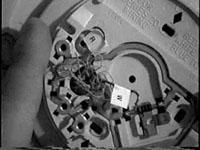
3. Remove the baseplate (or remaining pieces)
At this point, remove any remaining pieces of the old thermostat, taking care not to strip any wires accidentally or mix up your labeled wires.
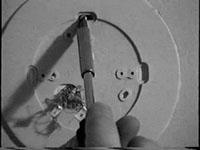
4. Mount the new thermostat
Take the new back of the thermostat, and mount it on the wall. If you are mounting in traditional drywall, you may need to use anchors to securely fasten the unit. Otherwise, you should be able to place the mounting screws right into the wall. In either case, drill a hole slightly smaller than your screw’s diameter to ensure a snug and tight fit.
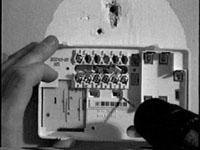
5. Reconnect the wires appropriately
Take the wires you carefully labeled earlier and match them to the appropriate terminal in the new thermostat. Remember, don’t match by color, rather match what the connection was in the previous thermostat.
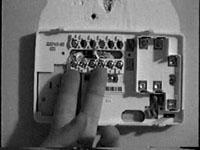
6. Power up the unit and turn back on the power
Most units are batter powered to protect against power failures. (This way, they don’t lose their programming, or programmed temperature settings.) Place the batteries in the unit, and replace the cover of the unit. When complete, turn on the power again.
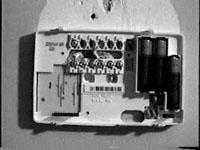
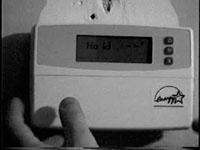
Congratulations! You’ve just replaced your old thermostat with a new, state of the art programmable thermostat. Read up on some more thermostat tips below, and consult your thermostat owners or instruction guide for information on how to program it!
Now that you have the thermostat setup, it’s time to program it! Personally, in the winter I use 62 degrees and 68 degrees as my default temperatures. Basically, anytime no one is home (or when we are sleeping), the temperature is set to 62 degrees. When we are home, the temperature is 68 degrees. This represents a good compromise in comfort and energy efficiency. Of course, you can alter these to your preferences. And if your thermostat supports programming the temperature by time, don’t forget to modify the times so the temperature kicks on at the correct intervals throughout the day!
The benefits to this approach should be self explanatory. No heat is wasted when we aren’t home. We enjoy the convenience of not having to worry about manually adjusting the temperature before we go to bed or leave for work or school.


3 thoughts on “Installing a smart, setback, or programmable thermostat”